THIS POST MAY CONTAIN AFFILIATE LINKS. AS AN AMAZON ASSOCIATE I EARN FROM QUALIFYING PURCHASES. PLEASE READ THE DISCLOSURE FOR MORE INFORMATION
Have you ever wondered how photographers always manage to take editorial shots that could have easily been on the cover of a NatGeo magazine? Most amateurs assume that it’s the camera that’s doing all the magic. That’s until they try a fancy camera and the photos don’t look nearly as pleasing. That sucks, right? Trust me, we have all been there.
Your first 10,000 photographs are your worst. – Henri Cartier-Bresson, father of modern photojournalism
As Henri Cartier Bresson indirectly hinted, there’s a steep learning curve that goes with learning photography even in this digital age when it’s quite easy to get your hands on a camera.
While I can’t promise to make a world-class photographer out of you right out of the bat, I can help you top up your photography game just by going through this post.
Whether you are using a DSLR or a simple phone camera, here are the top travel photography tips I wish I knew when I first started shooting four years ago.
While most of these concepts can be applied in normal circumstances as well, it becomes even more crucial during travel photography with limited equipment available for disposal.
Now, let’s get straight into it, shall we?
[toc]
Lighting is Key – Travel Photography tips
Lighting is one of the crucial aspects of photography and playing with light is one of my favorite activities to do while shooting pictures of my travels.
Without being able to afford additional lighting equipment while on the go, understanding the source of light and making ample use of naturally available light sources is even more necessary when it comes to travel photography.
If there is one thing you would want to take away from this post, then let it be the lighting. Lighting is vital for a great picture, and it can either make or break a photo.
It could be light falling on the subject illuminating it, or backlit images producing a dramatic picture or silhouette images telling a story, there are so many ways to play with light.
Direct Light
Far too many times, I have seen people taking pictures with the sun to their backs, and expect to have a well-lit-up photo with their faces clearly visible. This is obviously not possible if the light is not falling directly on the face of the subject. Ideally, the light should be falling on the subject unless silhouette is what you are going for!
Backlit
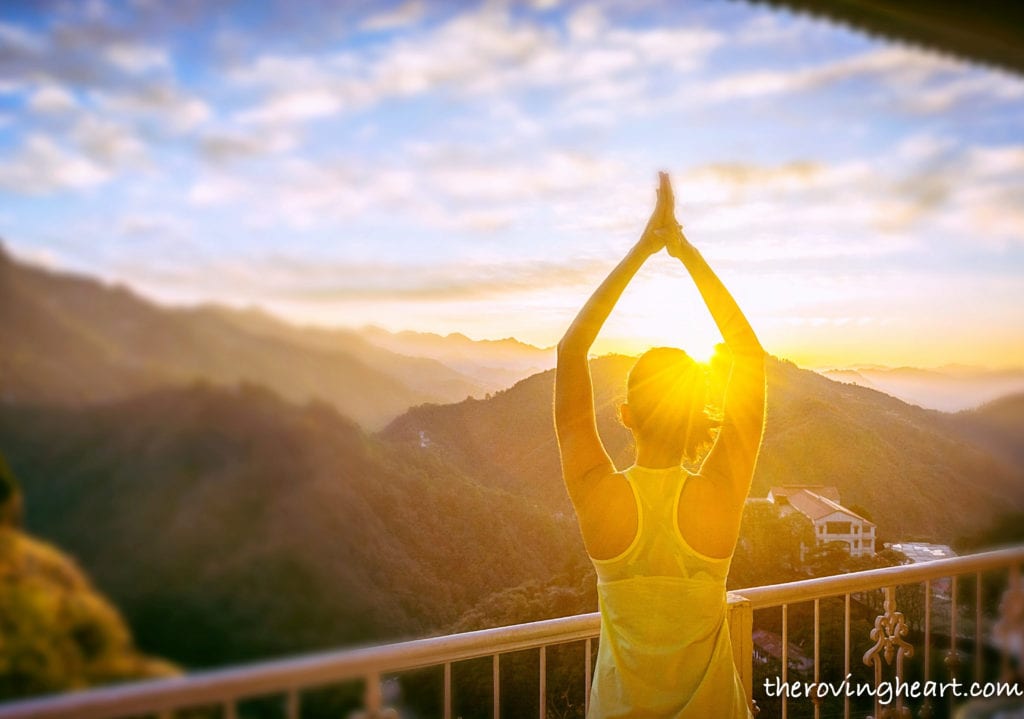
Backlit photos can do wonders if the light is positioned properly. Backlit photos are the ones where the subject is directly between the source of light and the camera, resulting in a backlit image that could lead to some dynamic and interesting images.
Silhouette
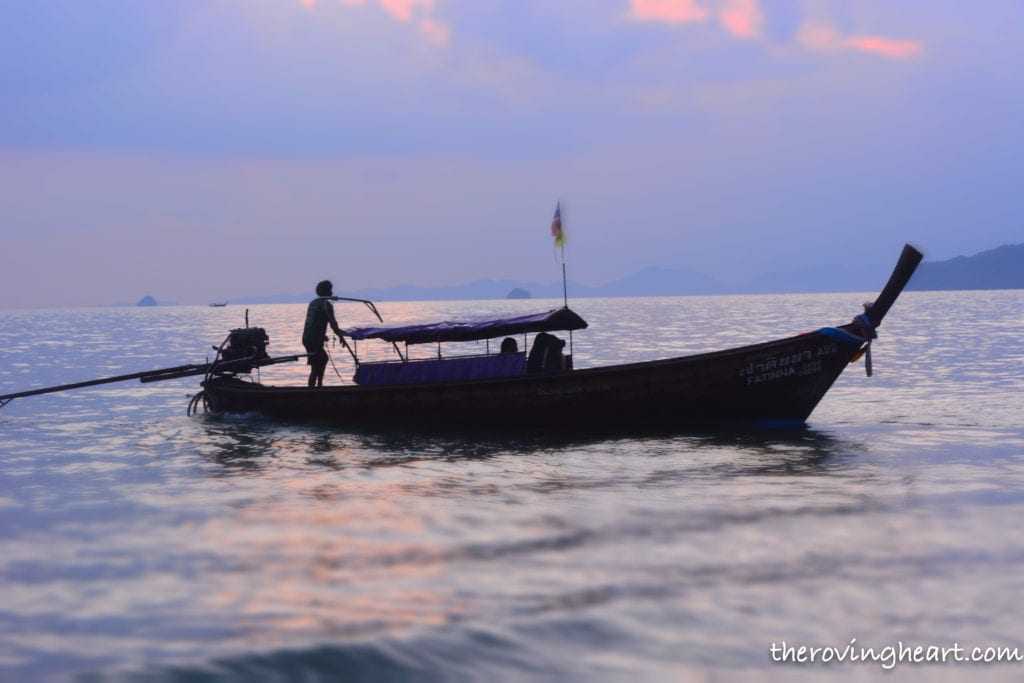
If you are looking to make silhouette images then make sure the foreground is darker than the background. Also, reduce the clutter as much as possible to please the senses.
Blue Hour
The best time to photograph would be, without a doubt, during the golden hour and blue hour.
The Golden hour is a period shortly after sunrise or before sunset during which light is redder and softer than when the sun is higher in the sky.
The blue hour is a period of twilight in the morning and the evening, when the sun is at a significant depth below the horizon and when the residual, indirect sunlight takes on a predominantly blue shade.
Perspective – Travel Photography tips
Always aim for a different perspective. Either plan for a top view or a bottom view image or point your camera at an oblique angle. Having a different perspective than eye level can produce some intriguing images.
Layering – Travel Photography tips
Layers can add depth to the image. Have a foreground, midground, and background which can layer your picture and make it seem alluring.
Leading lines – Travel Photography tips
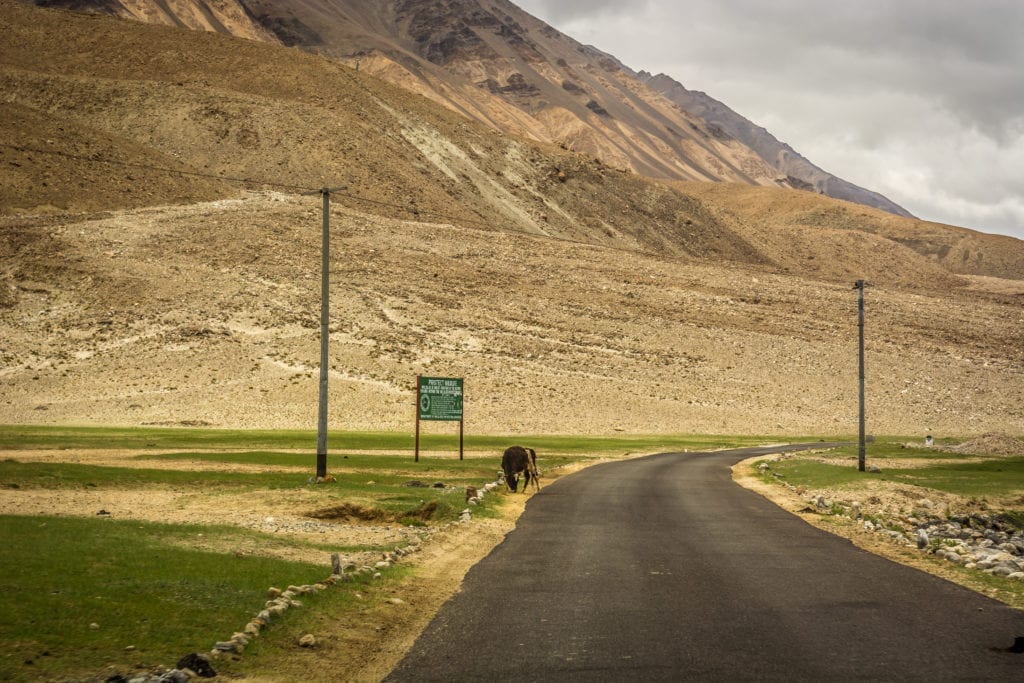
Use leading lines to guide the viewer through the image towards the subject. It paves an easy path for the viewer to follow and can make it pleasing to the beholder. Usually, they start at the bottom of the image and guide your way upward.
Rule of thirds – Travel Photography tips
Always use the rule of thirds. It’s a brilliant rule in photography for better composition which was derived from painting. This goes to say that it’s aesthetically better to place the subject at one-third or two-thirds of the image in both horizontal and vertical axis rather than at the center of the image.
However, some professionals break the rule of thirds once in a while and come out with an aesthetically pleasing picture, but it’s better to stick to the rule of thirds when you are starting.
Note – For beginners, modern day phone cameras are equipped to display the screen in grids which help in better deciding where to place the subject.
Subject – Travel Photography tips
Always have a subject in the picture. Not necessarily a person, but it could be a boat or stone or a tree for that matter. Unless you are planning to create abstract images, it is always a good idea to have a subject in the picture. The subject acts as an anchor for the picture – the first thing eyes wander to when you look at the image.
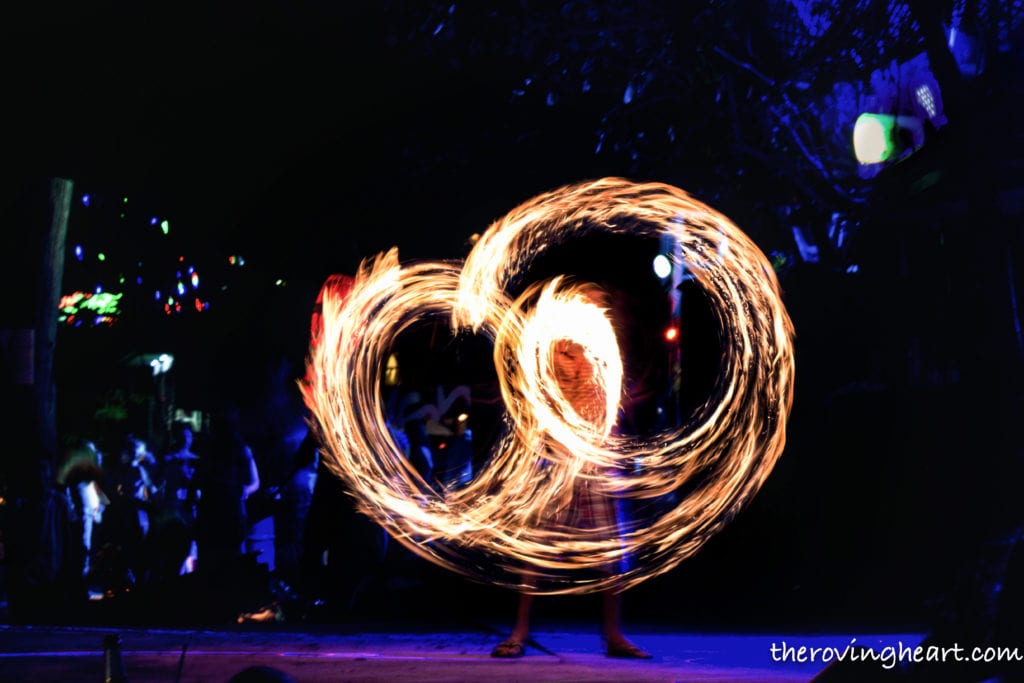
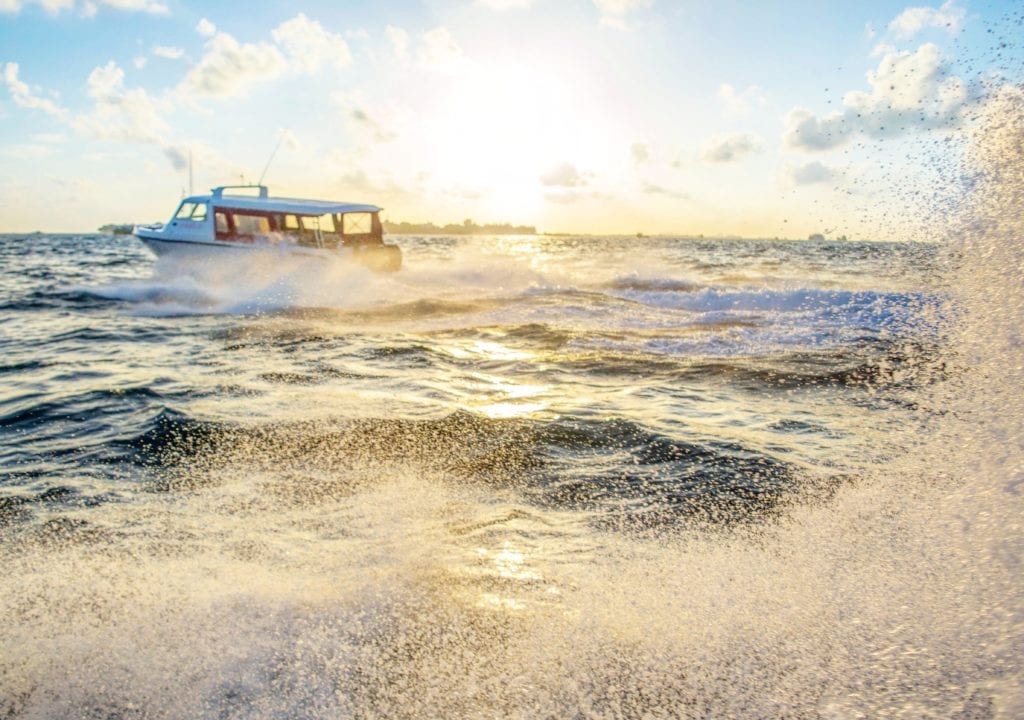
A sense of movement – Travel Photography tips
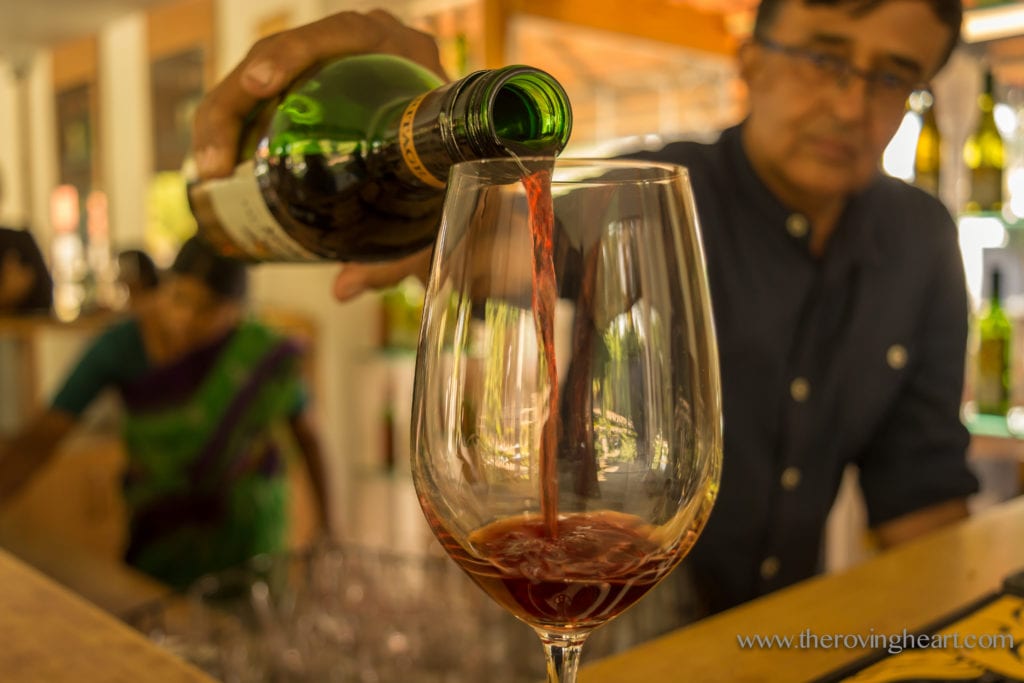
Have a moving element in the picture can add an enchanting facet to the image. It could be a moving car, running animal,, or even as simple as pouring a drink!
Minimalism – Travel Photography tips
Choose a maximum of two colors in the frame to have a minimalistic look. More the colors, the more cluttered the pictures will look! (This is something I’m striving to achieve too since I love colors and use colors extensively in my pictures, it’s difficult to restrict them!)
Note – If you think there are too many colours which are taking away the essence of the image, then it is a good idea to convert it into a grayscale image(B&W).
Depth of field – Travel Photography tips
If you think there is too much clutter in the background, and there is no way to avoid it, use the depth of field to blur the background. It helps to focus on the subject and makes the image more pleasing. The depth of field is an amazing concept when it comes to portrait photography.
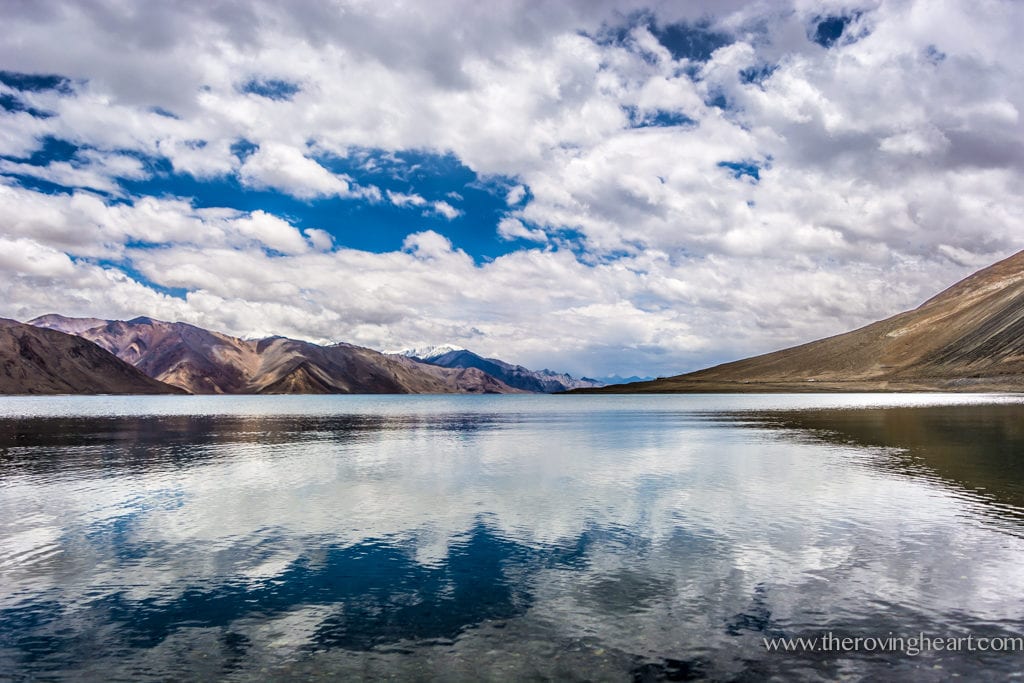
Reflection – Travel Photography tips
It could be a pond, puddle, or a pool, be on the lookout for reflections. Using reflections in your images can easily help in creating a stunning picture! The professionals say it’s alright to break the rule of thirds and look for symmetry only in case of reflections.
Limitations
Even though our phone cameras have developed exponentially over the years, there are still many limitations when it comes to phone photography. I’m fascinated by Astrophotography, but unfortunately, our phones are not equipped to handle night sky photography yet. It mandates using a DSLR and having significant exposure to capturing shots out of Auto mode. If you are keen on night sky photography, then check out Pratap’s site pratapj.com for excellent tips on the same!
On the other hand, if you want a dedicated camera and at the same time don’t want to shell out a lot of money for buying a DSLR, then consider buying an instant camera. It’s perfect for special occasions like birthdays or to memorialize your travels. Perfect for gifting too. While it has limitations, it’s great to start with and you’ll be more mindful of the pictures you click as you don’t want to waste the printing sheets.
If you want to get serious about photography, keep in mind that like everything else in life that’s worth doing, honing your photography skills takes time and effort. It doesn’t happen overnight. So, don’t be deterred if you are not making progress right away.
And, don’t be afraid to experiment with your camera and more importantly, have fun while doing it!
Also, take the time to truly be in the moment and watch the marvel of the universe with your own eyes and not just through the viewfinder! It’s necessary to strike a balance between the two.
Research Travel Photography Spots
Before you travel to a particular location, research photography spots in that location. You can look up on Instagram or try a quick Google search to find the popular and offbeat spots. Visit these spots during blue hour (just before sunrise and right after sunset) to set you up for success. And then follow the tips mentioned here and you have already leveled up!
Beginner Cameras for Travel Photography
Here are some beginner cameras recommended by The Roving Heart.
[amazon_link asins=’B00KT69ZNI,B01KITZRBE,B0126822L8,B01LXW2JQ0,B01N97XM8X’ template=’ProductCarousel’ store=’therovinghear-21′ marketplace=’IN’ link_id=’9e185811-3fa1-11e8-a68c-335c8b8f5497′]
Additional Resources and Courses
Photographing the world with Elia Locardi.
Not exactly travel-related, but still, there’s a lot to learn about photography from here as well – A free and quick introduction to Fine Art photography course on Udemy
If you have any other travel photography tips, let me know in the comments below.

Comments
21 CommentsPratap
Feb 17, 2018You’ve covered all the essentials! Will come handy when someone asks me for tips. Bookmarked 🙂
Raksha Rao
Mar 27, 2018Thanks, Pratap. Glad to hear that coming from you 🙂
Suzy
Feb 17, 2018So many awesome tips here thank you so much! I love the idea of creating movement. Can’t wait to try out these tips soon!
Raksha Rao
Mar 27, 2018Glad to be of help Suzy 🙂
Kathi
Feb 17, 2018These tips are great! It really is all about composition! Adding layers is still something I’m working on – thanks for sharing this as inspiration!!
Caroline
Feb 17, 2018This is so helpful for amateur photographers like me. I’m a documentary filmmaker by trade but SLR photography is a whole different ball game. So many great tips on here – thanks x
Raksha Rao
Mar 27, 2018I was struggling to understand the nooks and crannies of photography when I started and hope it will be a faster learning process for you than it was for me!
Rosie
Feb 17, 2018Great tips on photography. Fabulous photos too. Thanks for sharing.
leanne
Feb 17, 2018Some great tips here that will be really useful for beginner photographers. I absolutely loved the back lit photo of you doing yoga. Very creative!
Raksha Rao
Mar 27, 2018That’s one of my favourite photos too Leanne. Thank you.
Ana Ro
Feb 17, 2018Very useful tips for me, as I’m just starting!
Tasha
Feb 17, 2018Very useful tips! I particularly like your advice with the lighting and using a subject in between the light source and the camera.
Raksha Rao
Mar 27, 2018That’s one of my favourite techniques too. The backlit images look stunning if done properly 🙂
Lenise Calleja
Feb 17, 2018Thanks for sharing these tips. I love your photography 🙂
Raksha Rao
Mar 27, 2018Thanks Lenise.
Sachin Baikar
Feb 19, 2018Great tips 🙂
Thanks for sharing 🙂
Raksha Rao
Mar 27, 2018Happy to help Sachin. Thanks for dropping by.
Rika Guite
Jun 26, 2018Great article! Especially where you talk about rule of third and depth of field, these tips will come handy on my next expedition.
Thanks
Raksha Rao
Jun 26, 2018Thanks for stopping by Rika. Glad you found it useful!
A Travel Blogger's Photography Kit
May 21, 2021[…] Want to practice your travel photography? Check out these great tips! […]
Bev
Jul 21, 2024There’s some excellent tips here. Just to add – buy a travel tripod; essential for some photography such as astrophotography and landscape. And practice, practice, practice 🙂